Customize Consent Preferences

We use cookies to help you navigate efficiently and perform certain functions. You will find detailed information about all cookies under each consent category below.

The cookies that are categorized as "Necessary" are stored on your browser as they are essential for enabling the basic functionalities of the site. ... 

Always Active

Necessary cookies are required to enable the basic features of this site, such as providing secure log-in or adjusting your consent preferences. These cookies do not store any personally identifiable data.

Functional cookies help perform certain functionalities like sharing the content of the website on social media platforms, collecting feedback, and other third-party features.

Analytical cookies are used to understand how visitors interact with the website. These cookies help provide information on metrics such as the number of visitors, bounce rate, traffic source, etc.

Performance cookies are used to understand and analyze the key performance indexes of the website which helps in delivering a better user experience for the visitors.

Advertisement cookies are used to provide visitors with customized advertisements based on the pages you visited previously and to analyze the effectiveness of the ad campaigns.

Tuners Cube

Created Date:

28 Jan 2014

Last Updated / Completion Date:

Status:

Complete

Project Types:

in |

A Turner’s cube is a classic machinist’s exercise that challenges the skills of someone who turns on a lathe.

This was the first project on my new lathe – because I hadn’t heard of it before, and it looked cool! I designed it in 3D first using Design Spark Mechanical (see my 3D Modelling page), which is freeware. You will note that the 3D model has 4 cubes, but I chose to go with 3 in the end.

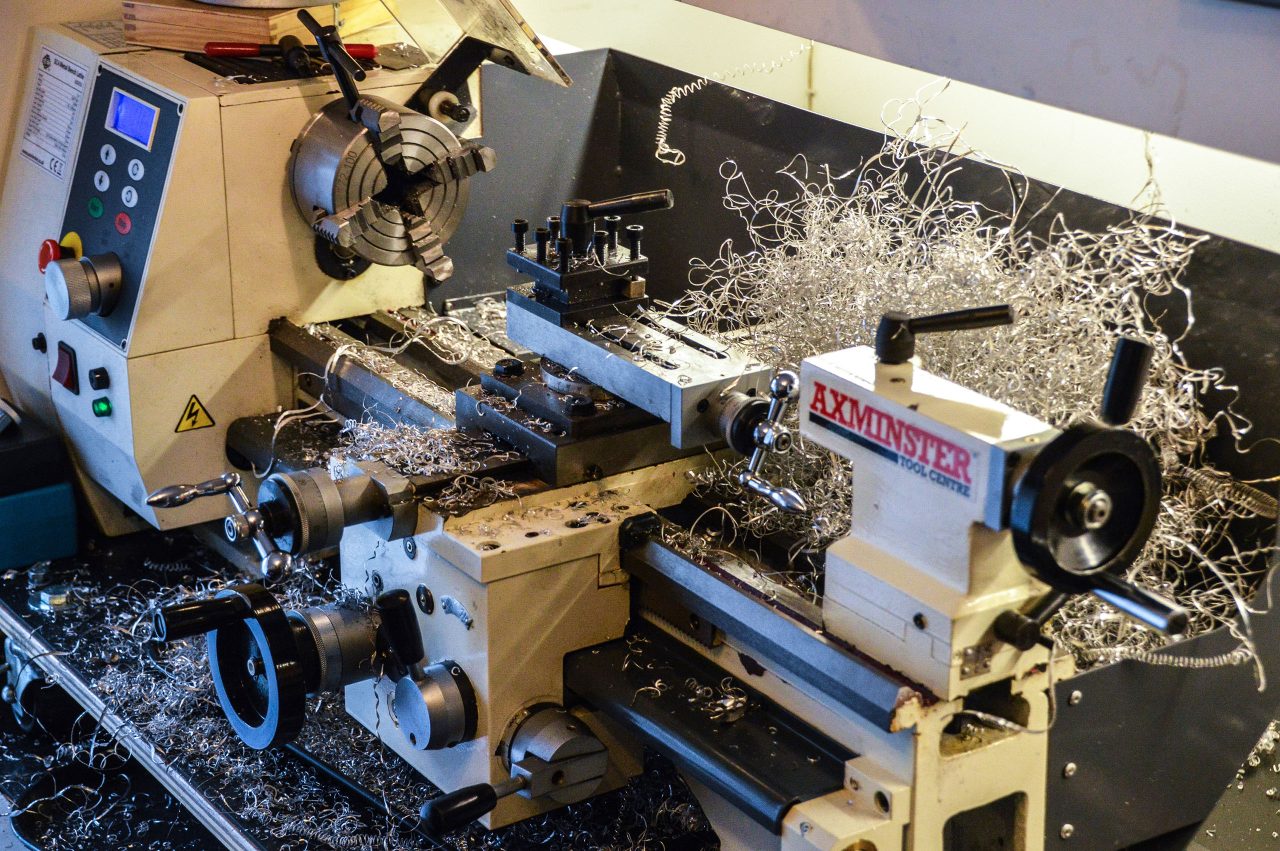
I chose to build a large one to test the capability of the lathe to hold and machine large chunks of metal. So I started with a 100mm3 aluminium block.

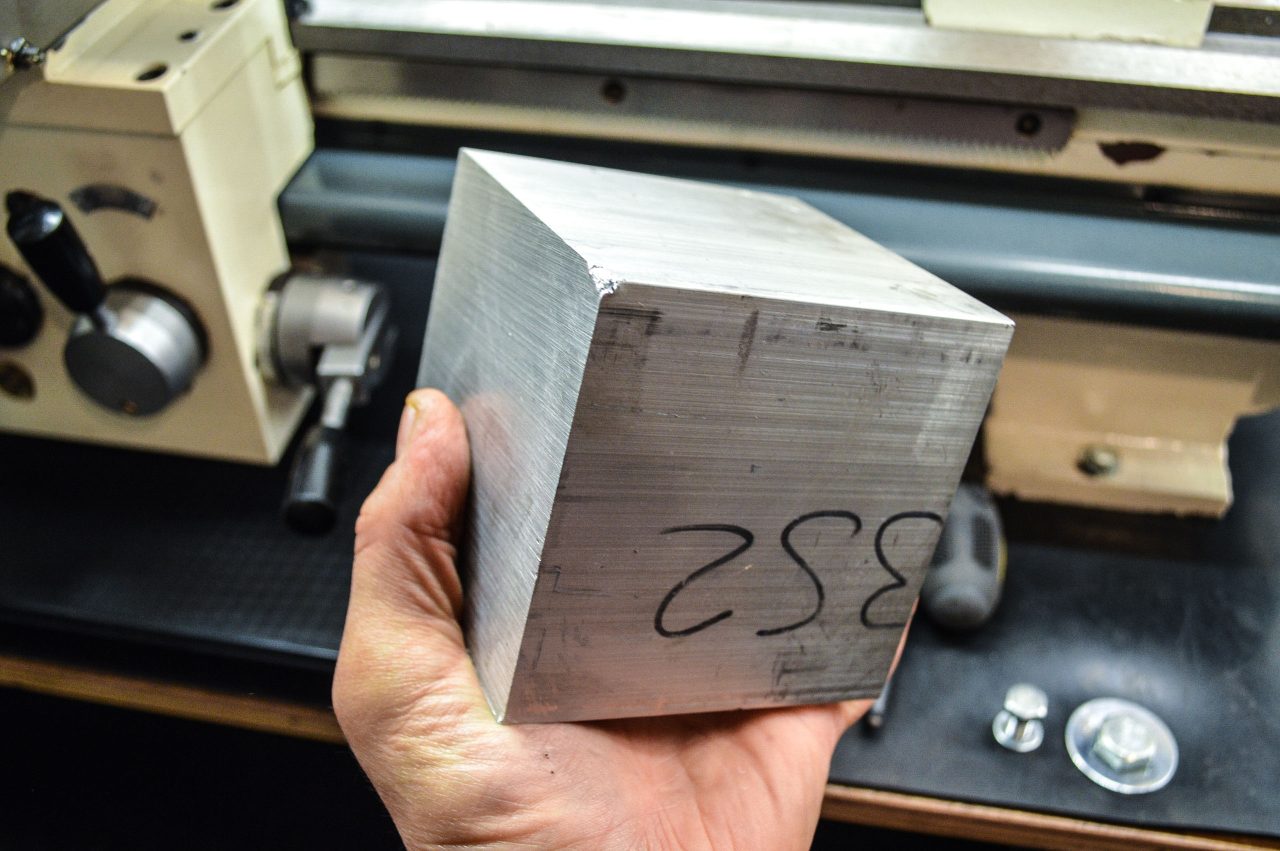
This fitted nicely into the 4 jaw independent chuck.

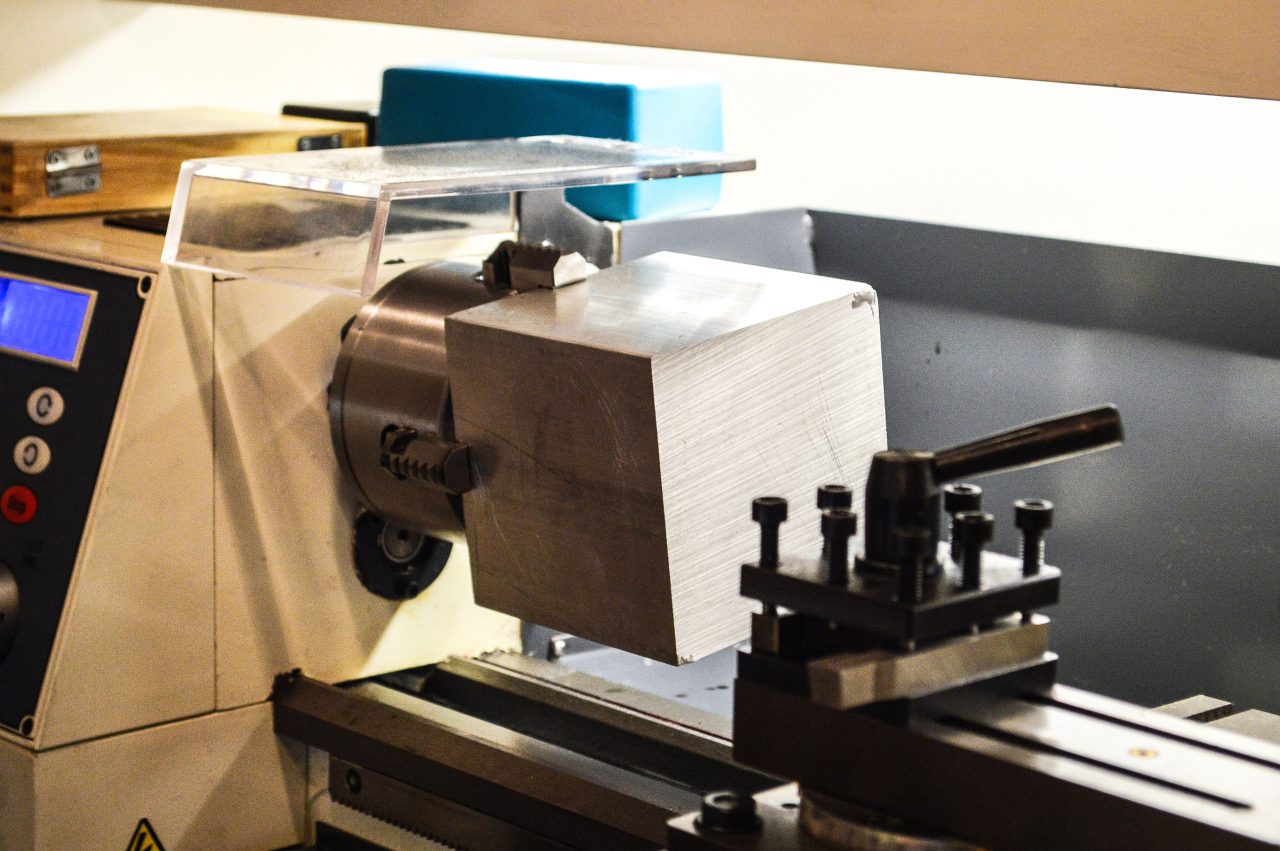
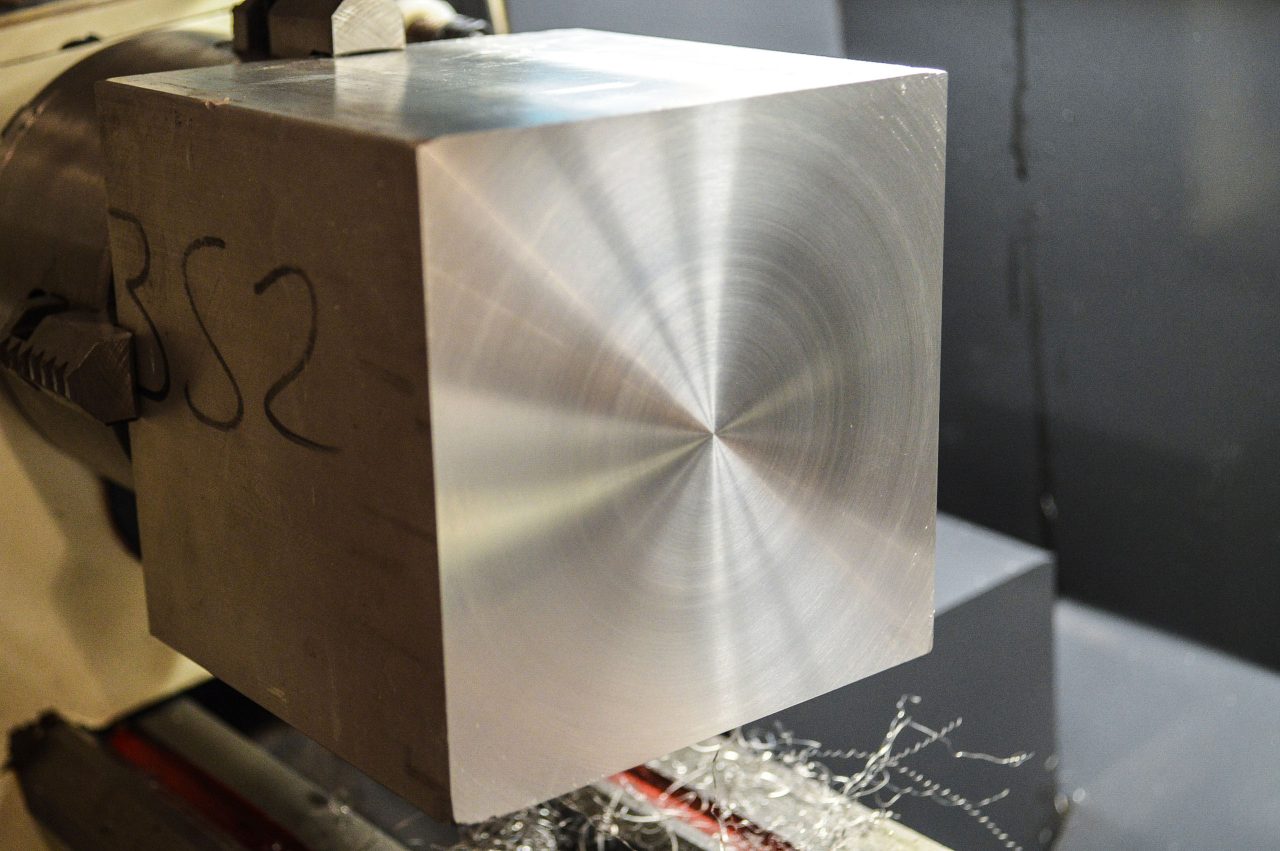
The first task was to face one side of the cube to create a reference surface.

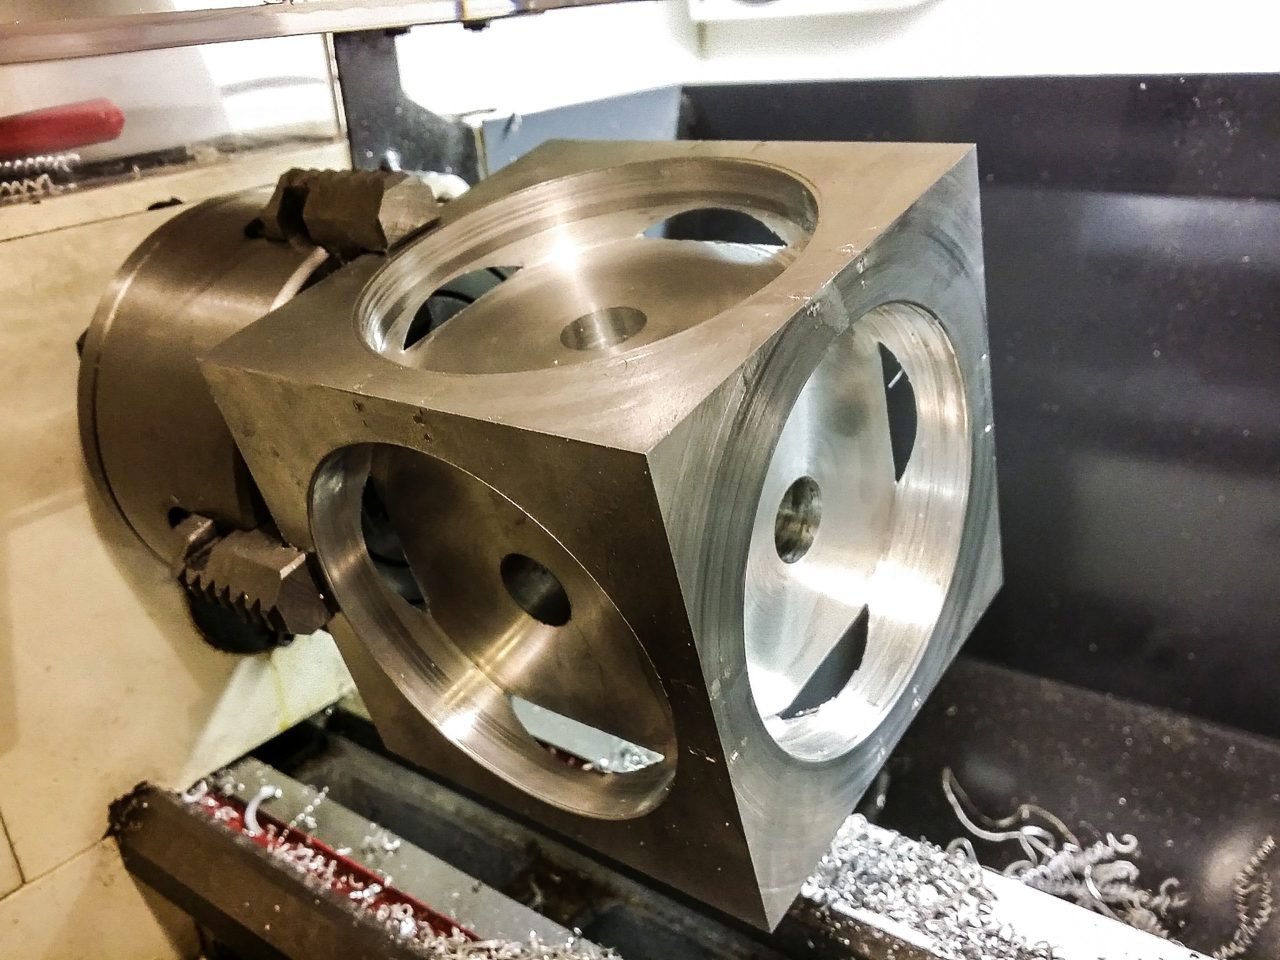
I started cutting the circular recesses into the sides, rotating and realigning the cube in the 4 jaw chuck for each cut. In hindsight, it would probably have been better if I made all the cuts and drilled the holes in each side before rotating the cube, as I spent a lot of time realigning it. To align the cube in the chuck I had to adjust one jaw at a time and use a dial test indicator to ensure that it was centred.

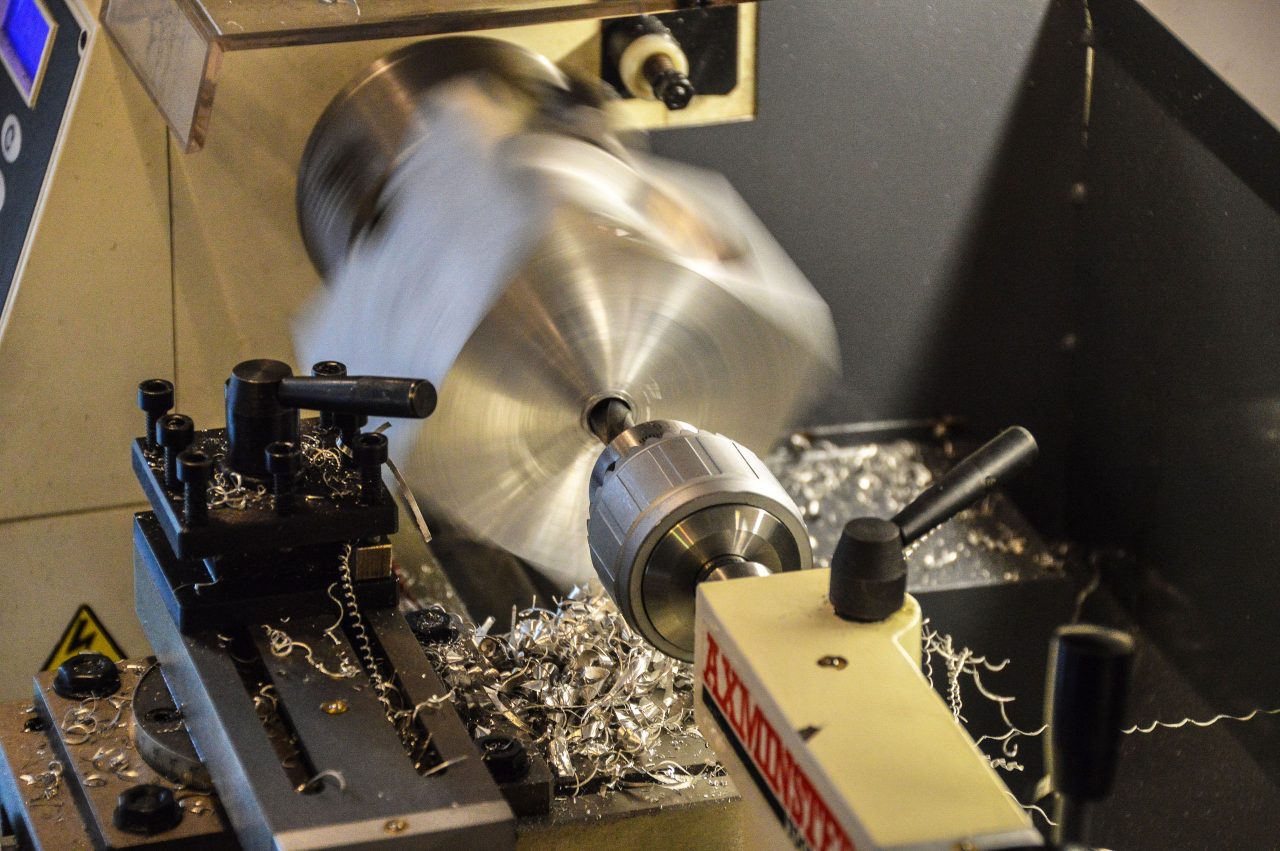
A lot of material had to be removed and a loads of swarf generated!

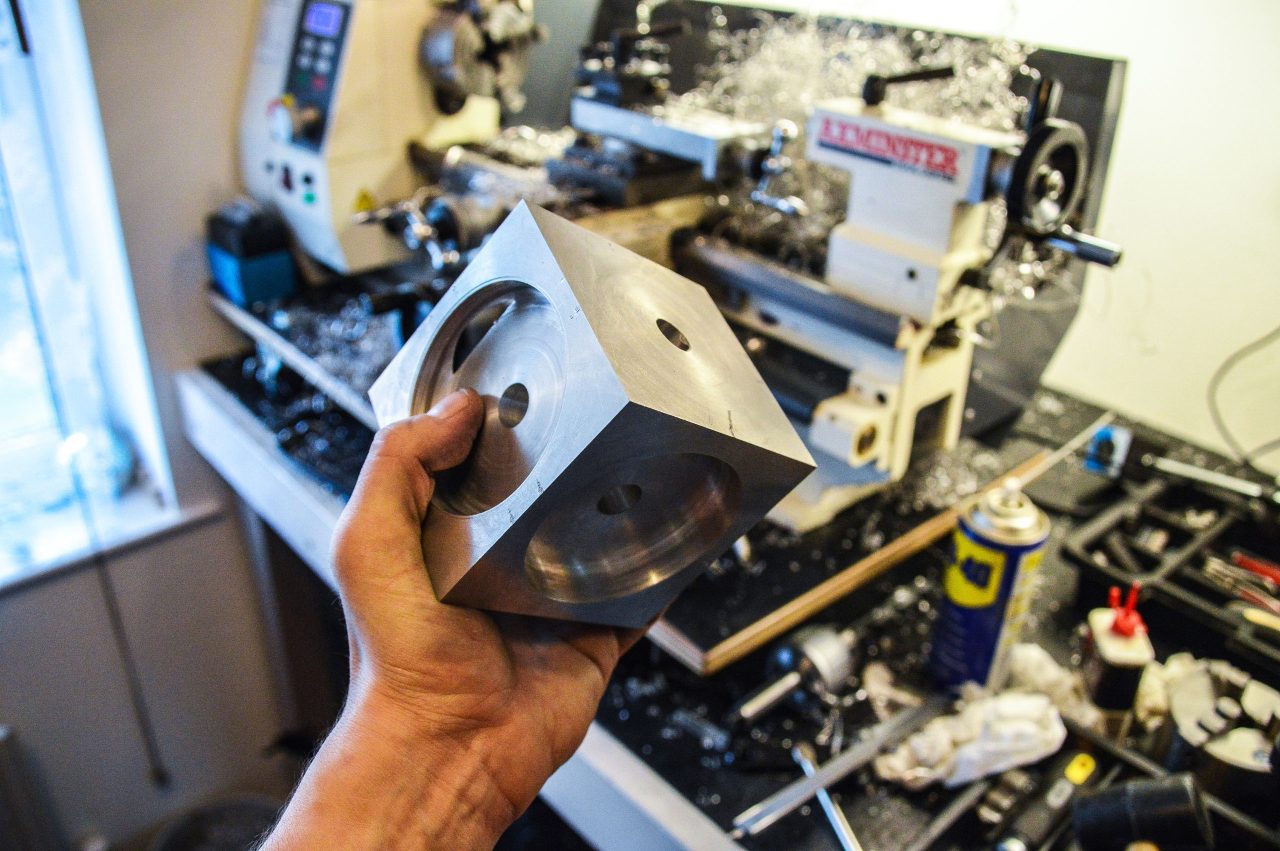
The partially finished Turner’s cube.

All first level cuts completed.

This is a video I put together showing the lathe in action. Here we are facing the cube, drilling and cutting the recessed circles.

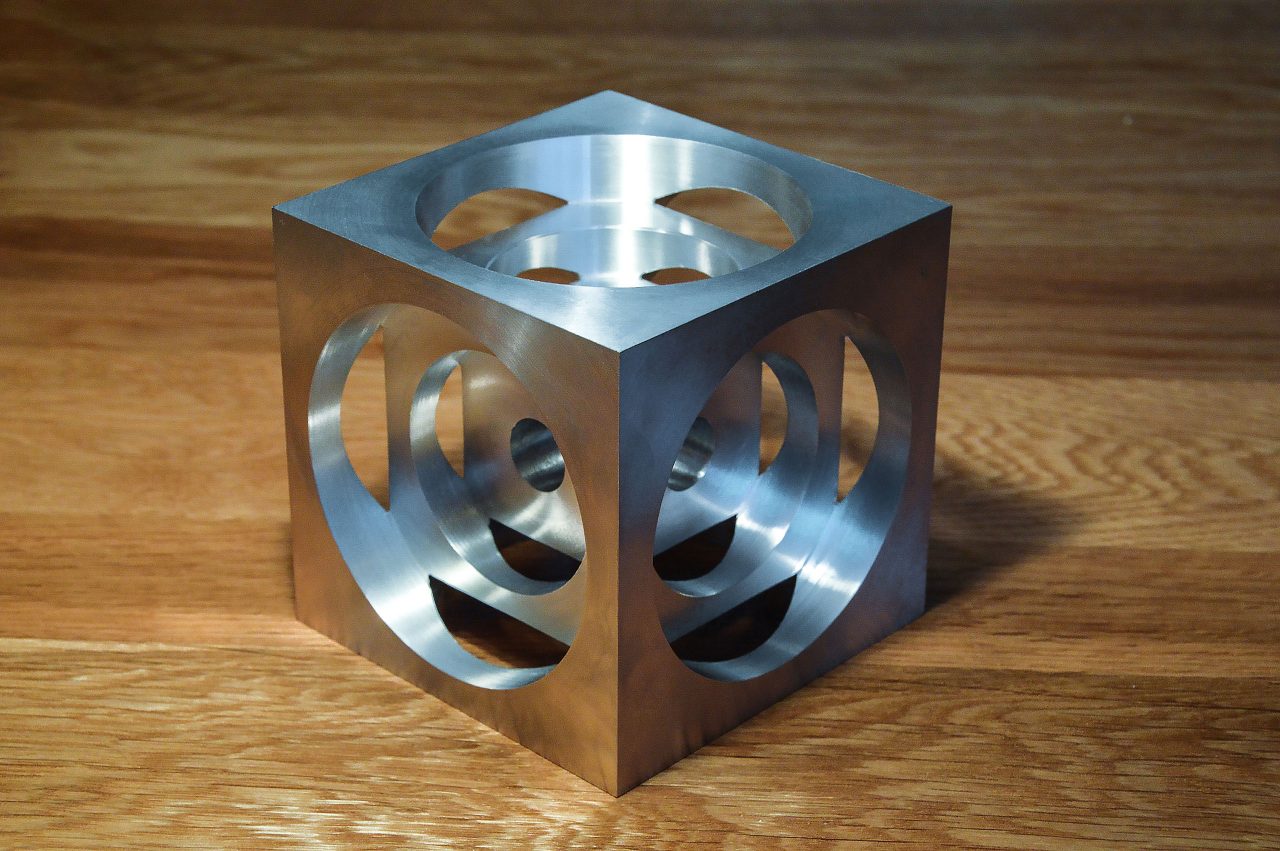
The finished product.

Comments

Leave a Reply

Your email address will not be published. Required fields are marked *

Turners Cube 2
Turners Cube 2
100mm3 Aluminium Block
4 Jaw Chuck
4 Jaw Chuck
Faced Cube
Faced Cube
Drilling the Holes
Drilling the Holes
Swarf
Swarf
Partially Cut Cube
Partially Cut Cube
First Layer Complete
Turners Cube 1
Turners Cube 1
Turners Cube 4
Turners Cube 4
Turners Cube3
Turners Cube3